How to Make an Origami Bird


Origami, an age craft, from Japan has captivated enthusiasts for countless generations. Among the accessible designs the origami bird stands out as a favorite, for beginners. In this post, we will guide you step by step on how to make an origami bird. By the end, you’ll have a beautiful paper bird ready to take flight!
Table of contents
Materials Needed

- A square piece of origami paper (preferably 6×6 inches)
- A flat surface
- Patience and focus
How To Make An Origami Bird Steps
1. Prepare Your Paper
Begin by placing the origami paper with the colored side facing downwards. This way when you’re done the color will be beautifully displayed in the product.
2. Create a Diagonal Crease
Start by taking the paper and folding it in diagonally to create a triangular shape. After that unfold the paper. Fold it diagonally in the direction. This should result in a crease that forms an ‘X’ on your paper.

3. Form the Base
Start by placing the paper with its colored side facing. Fold it in half from left to right. Open it up again. Bring the right and left corners towards the center crease. This will create a shape called the “bird base”.
4. Shape the Head and Tail
Take the bird base. Fold the triangle of the model downwards. Then fold the two side corners towards the center. This will begin to form your birds shape with one end representing its head and the other its tail.
5. Finalize the Head
To form the head of the bird start by folding a part of the paper inward. This technique involves pushing a section of the paper to create the desired shape, for the birds head.

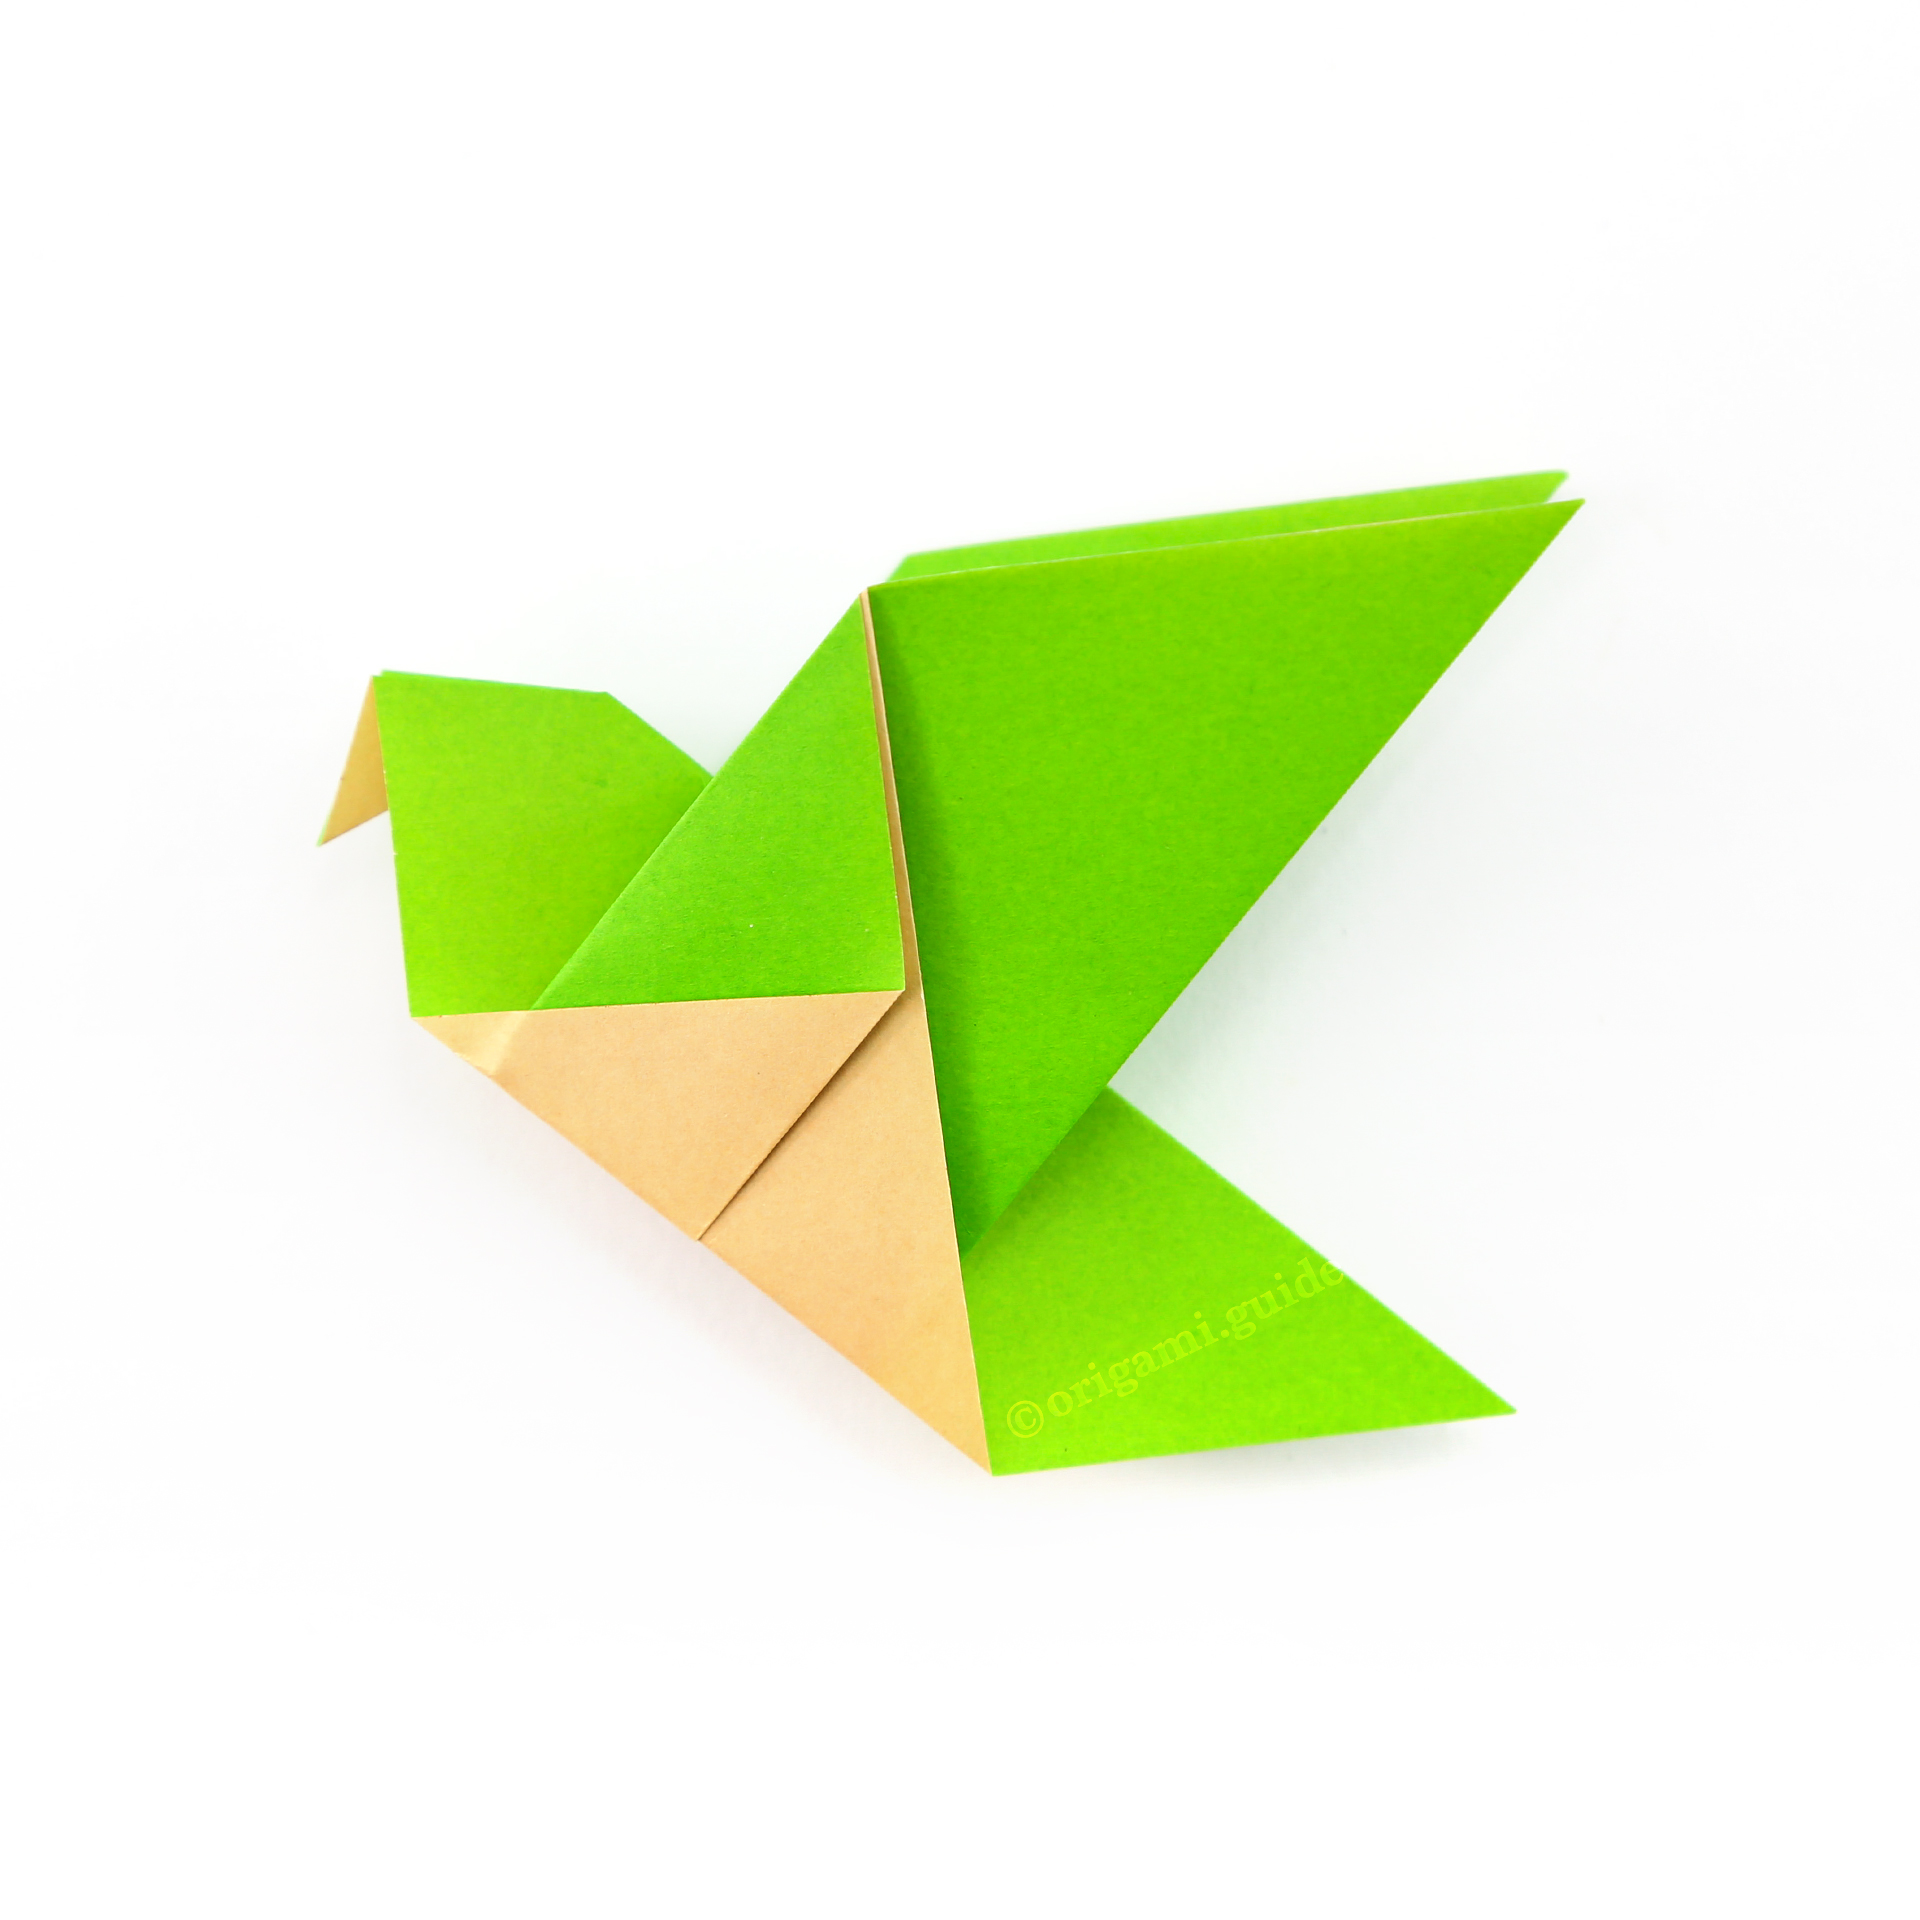
6. Form the Wings
Take the model. Fold it in half following the center crease. Next fold down the wings on both sides ensuring that they are symmetrical.
7. Add Finishing Touches
You can give a tug to the birds tail. It will start flapping its wings. It’s an interactive element of the origami bird!
Congratulations! You now know how to make an origami bird. With a bit of practice you’ll be able to create these birds in a few minutes. You can even try out sizes and colors to add some variety.
Tips for Perfecting Your Origami Bird

- Make sure to have creases when folding. This will assist in achieving the shape of the bird.
- Opt, for paper as it is easier to manipulate. Thick paper can pose challenges during the folding process.
- Remember practice leads to perfection. Don’t get discouraged if your initial tries are not flawless. Keep persevering!
Quick Reference Table
| Step | Action | Tip |
| 1 | Prepare your paper | Use colored origami paper for a vibrant bird |
| 2 | Create a diagonal crease | Ensure sharp creases |
| 3 | Form the bird base | This is the foundation of your bird |
| 4 | Shape the head and tail | Ensure symmetry |
| 5 | Finalize the head | Use an inside reverse fold |
| 6 | Form the wings | Make sure they are symmetrical |
| 7 | Add finishing touches | Gently pull the tail for a flapping motion |
Final Thought
Learning how to make an origami bird is a rewarding experience. You not have the opportunity to craft something using your own hands but you also have the chance to engage in a timeless art form that has been handed down from one generation to another.
Whether you create it for enjoyment as a piece or, as a present the origami bird exemplifies the elegance that can be achieved with just a single sheet of paper. So, the next time you have some spare time and a piece of paper, remember how to make an origami bird and let your creativity soar!
Youtube Video: How to Make an Origami Bird
FAQ
Absolutely you have the option to do so. Although it is generally recommended to use origami paper due, to its thinness printer paper can be an alternative if you trim it into a square shape. Just keep in mind that the creases may appear noticeable, in this case.
To achieve the flapping motion it’s important to have paper and precise folds. Make sure your folds are crisp and consider using a paper for outcomes.
With practice most people can develop proficiency within a hours or a couple of days. Just keep in mind that patience is crucial!
When it comes to origami using paper can be a little tricky as it tends to be slippery. Makes it harder to keep the creases intact. Its recommended to begin with origami paper and then try out different options if desired.
Definitely! Creating origami birds is an activity, for children. It enhances their focus and fine motor abilities while introducing them to the world of art and culture in a fun and enjoyable manner.